Essential Materials and Tools
How to sew shorts? Beginning your journey on how to sew shorts starts with gathering the right materials and tools. You’ll need to have all essentials at hand to ensure a smooth sewing process. Remember, the right tools can make a significant difference in the ease of sewing and the quality of your finished shorts.
Choosing the Right Fabric
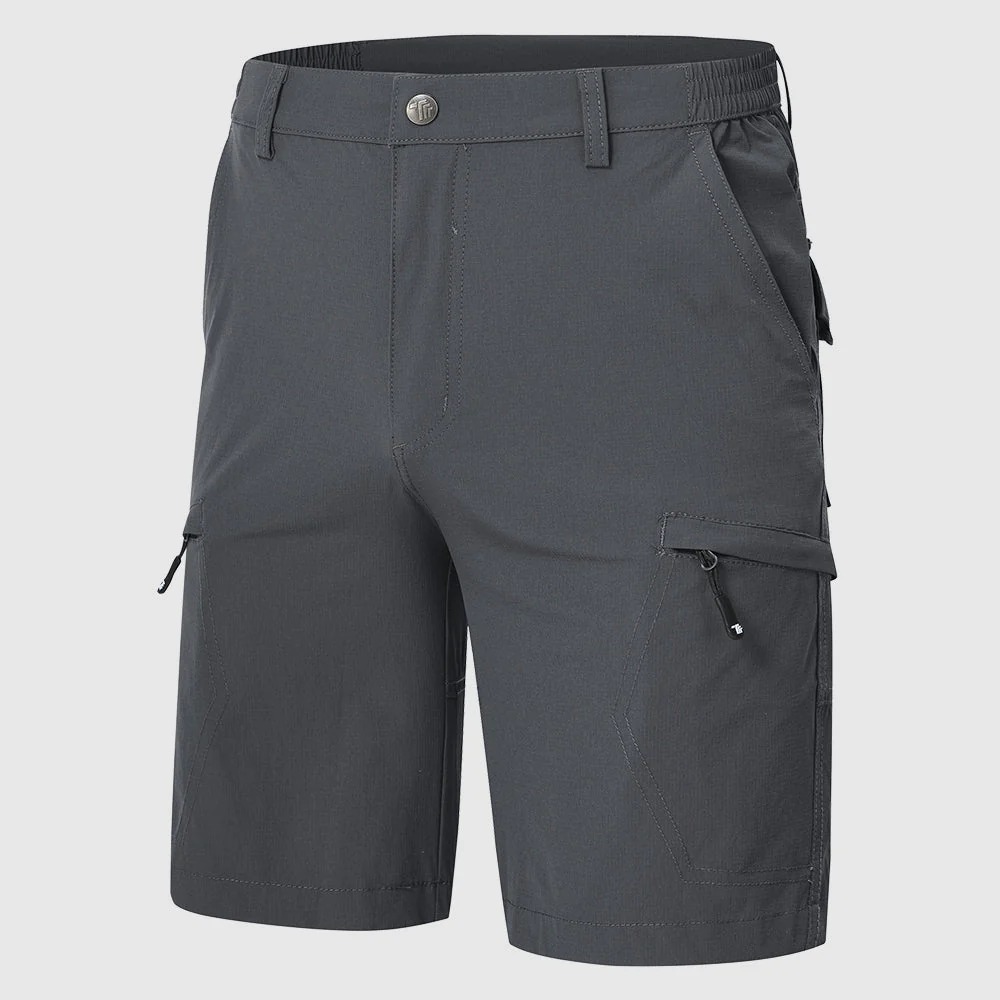
Fabric choice is pivotal. It determines the comfort and fit of your shorts. Lightweight cotton, denim, or linen are excellent choices for casual shorts. If you’re aiming for athletic shorts, consider stretchy fabrics like spandex blends. When buying fabric, always check for any faults and consider shrinkage after washing.
Preparing Your Pattern
Once you have your sewing materials ready, the next step in learning how to sew shorts involves pattern preparation. A pattern serves as the blueprint for your shorts, dictating their shape, size, and how the pieces will come together. Transitioning from a raw fabric to wearable shorts begins here.
Understanding Pattern Sizes and Measurements
Begin by selecting a shorts pattern that matches your desired style and size. Patterns typically come with a size chart; compare your measurements against this chart to find your correct size. Keep in mind, commercial patterns may differ from your actual measurements, so measuring yourself accurately is key. Use a measuring tape to get your hip, waist, and thigh measurements. These figures are crucial for ensuring the shorts will fit comfortably.
Modifying Patterns for a Custom Fit
Sometimes, you’ll find that even the best pattern sizes don’t match your body perfectly. In such cases, modifying the pattern is your best bet to achieve a custom fit. Start by tracing the original pattern onto paper, keeping the original pattern intact for reference. Make adjustments by adding or removing width or length, where necessary, to accommodate your specific measurements.
Cutting the Fabric
Once your pattern is prepped and ready, it’s time to focus on how to sew shorts by cutting the fabric. This step is where your project starts to take shape, quite literally. Proper cutting is crucial for the final fit and look of your shorts.
Transferring the Pattern onto Fabric
Begin by placing your fabric on a flat surface. Make sure there are no creases or folds. Lay your pattern pieces on the fabric, following the grain line marked on the pattern. This ensures the fabric stretches the right way when you wear your shorts. Pin the pattern pieces to the fabric securely or use pattern weights for stability. Trace around the patterns with a fabric marker. Be precise; your cutting lines will guide your scissors.
Tips for Accurate Cutting
To cut the fabric accurately, follow these tips:
- Use Sharp Scissors: Dull scissors can harm the fabric and give you jagged edges.
- Cut Slowly: Take your time to follow the marker lines as closely as possible. Rushing may lead to errors.
- Stay True to the Marker Lines: Those lines are your guide. Straying from them can alter the shape of your shorts.
- Double-Check Before Cutting: Make sure you haven’t missed any notches or marks. They are important for aligning the pieces later.
- Maintain Fabric Stability: Ensure the fabric doesn’t shift while you’re cutting. This will keep your lines clean and even.
After cutting out your pieces, you’re ready to move onto the next exciting step – sewing techniques!
Sewing Techniques for Shorts
Once you’ve cut your fabric, you’re ready for the heart of how to sew shorts – the sewing techniques. This step turns your pieces of fabric into a wearable garment.
Basic Stitches and Seam Types
With your sewing machine set up, start with basic stitches. A straight stitch is crucial for most seams. Ensure the stitch length is appropriate for your fabric type. For stretchy fabrics, use a zigzag stitch to allow for flexibility. Learn to backstitch at the beginning and end of each seam to secure it.
Adding Pockets and Waistbands
Pockets add function and style to your shorts. Cut out pocket pieces using your pattern. Pin and sew them to the front pieces of your shorts before assembling the entire piece.
Assembling the Shorts
Now you have your pieces cut, it’s time to assemble your shorts. This is where you bring all the components together to take shape as a wearable item. This process requires careful attention to the order of assembly to ensure a clean, professional finish.
Step-by-Step Construction Process
Start with the front and back pieces of your shorts. Sew them together along the side seams using a straight stitch. Align the seams carefully and use pins to hold them in place while you sew. Next, stitch the inseam, the seam that runs under your shorts from front to back.
Attaching Components Together
To bring your shorts together, consider the order in which you attach components like pockets, belts, or trims. Pockets should be sewn to the front panels before the sides are joined. If your shorts have belt loops, make sure to attach them to the waistband before you sew the waistband to the shorts.
Finishing Touches
Achieving a polished look for your shorts involves careful finishing touches. How to sew shorts isn’t only about assembly, it’s also about giving your creation a professional appearance.
Hemming and Edge Finishing
To prevent fraying and to give your shorts a clean edge, hemming is essential. Begin by folding the bottom edge of the shorts up to the desired length. Press the fold with an iron to create a crisp edge. Sew around the folded edge using a straight or zigzag stitch, depending on the fabric. For a more invisible hem, consider using a blind stitch.
Adding Buttons, Zippers, and Elastic
Adding fasteners to your shorts also requires precision. For buttons, mark the placement carefully on the waistband, and use a strong thread to sew them securely. Zippers should be pinned in place and sewn with a zipper foot attachment for accuracy.

Troubleshooting Common Sewing Mistakes
Even experienced sewers can encounter issues when making shorts. It’s important to know how to fix common mistakes for a polished result.
Fixing Fit Issues
Fit issues are among the most common problems when sewing your own shorts. Here are ways to address them:
- Adjust the waistband if too tight or loose by adding or removing fabric.
- For a snugger fit, take in the sides by sewing closer to the fabric edge.
- If shorts are too tight, let out the seams by sewing further from the edge.
- Balance uneven hemlines by measuring and trimming before re-hemming.
Checking fit periodically during sewing can prevent major adjustments later.
Repairing Misaligned Seams
Misaligned seams can make your shorts look unprofessional. To correct them:
- Unpick the seam with a seam ripper carefully.
- Realign the fabric edges, ensuring notches and marks match up.
- Repin the fabric in place, double-checking alignment.
- Resew the seam slowly, following the corrected alignment.
Taking time to repair these errors can greatly enhance the look and fit of your shorts.
Caring for Your Handmade Shorts
As your freshly sewn shorts come to life, proper care ensures they stay in pristine condition. Learn how to maintain and store your handmade garments to extend their lifespan.
Washing and Maintenance Tips
Caring for your handmade shorts is crucial to keep them looking their best. Here’s how to do it:
- Wash Gently: Use cold water and a gentle cycle to avoid damaging the fabric.
- Avoid Bleach: Bleach can weaken fibers, so opt for mild detergents instead.
- Air Dry: Lay your shorts flat or hang them to dry to preserve shape and size.
- Iron Carefully: Use a warm iron and pay attention to fabric recommendations. Some fabrics may need a cloth in between to prevent scorching.
- Mend Quickly: Repair small rips or loose threads promptly to prevent further damage.
By following these tips, you’ll ensure your handmade shorts remain durable and vibrant.